Key Features
- Targeted Outreach: Calls are made to users from predefined lead groups.
- Automated or Manual Calling: Supports both automated dialing and manual agent-initiated calls.
- Lead Group Management: Allows segmentation of users based on criteria such as demographics, purchase history, or past interactions.
- Call Scheduling: Enables scheduling of calls to optimize engagement times.
- Performance Tracking: Monitors call success rates, duration, and outcomes.
- Integration with Agent Metrics: Tracks agent efficiency within campaigns.
Usage
Accessing Agent Campaigns
1
Agent Campaigns Tab
Navigate to your agent’s dashboard and locate the Metrics tab.
2
Agent Campaigns Table
Campaigns table which shows the campaigns info including editing, removing or toggling campaign state (run | stop)
How to use
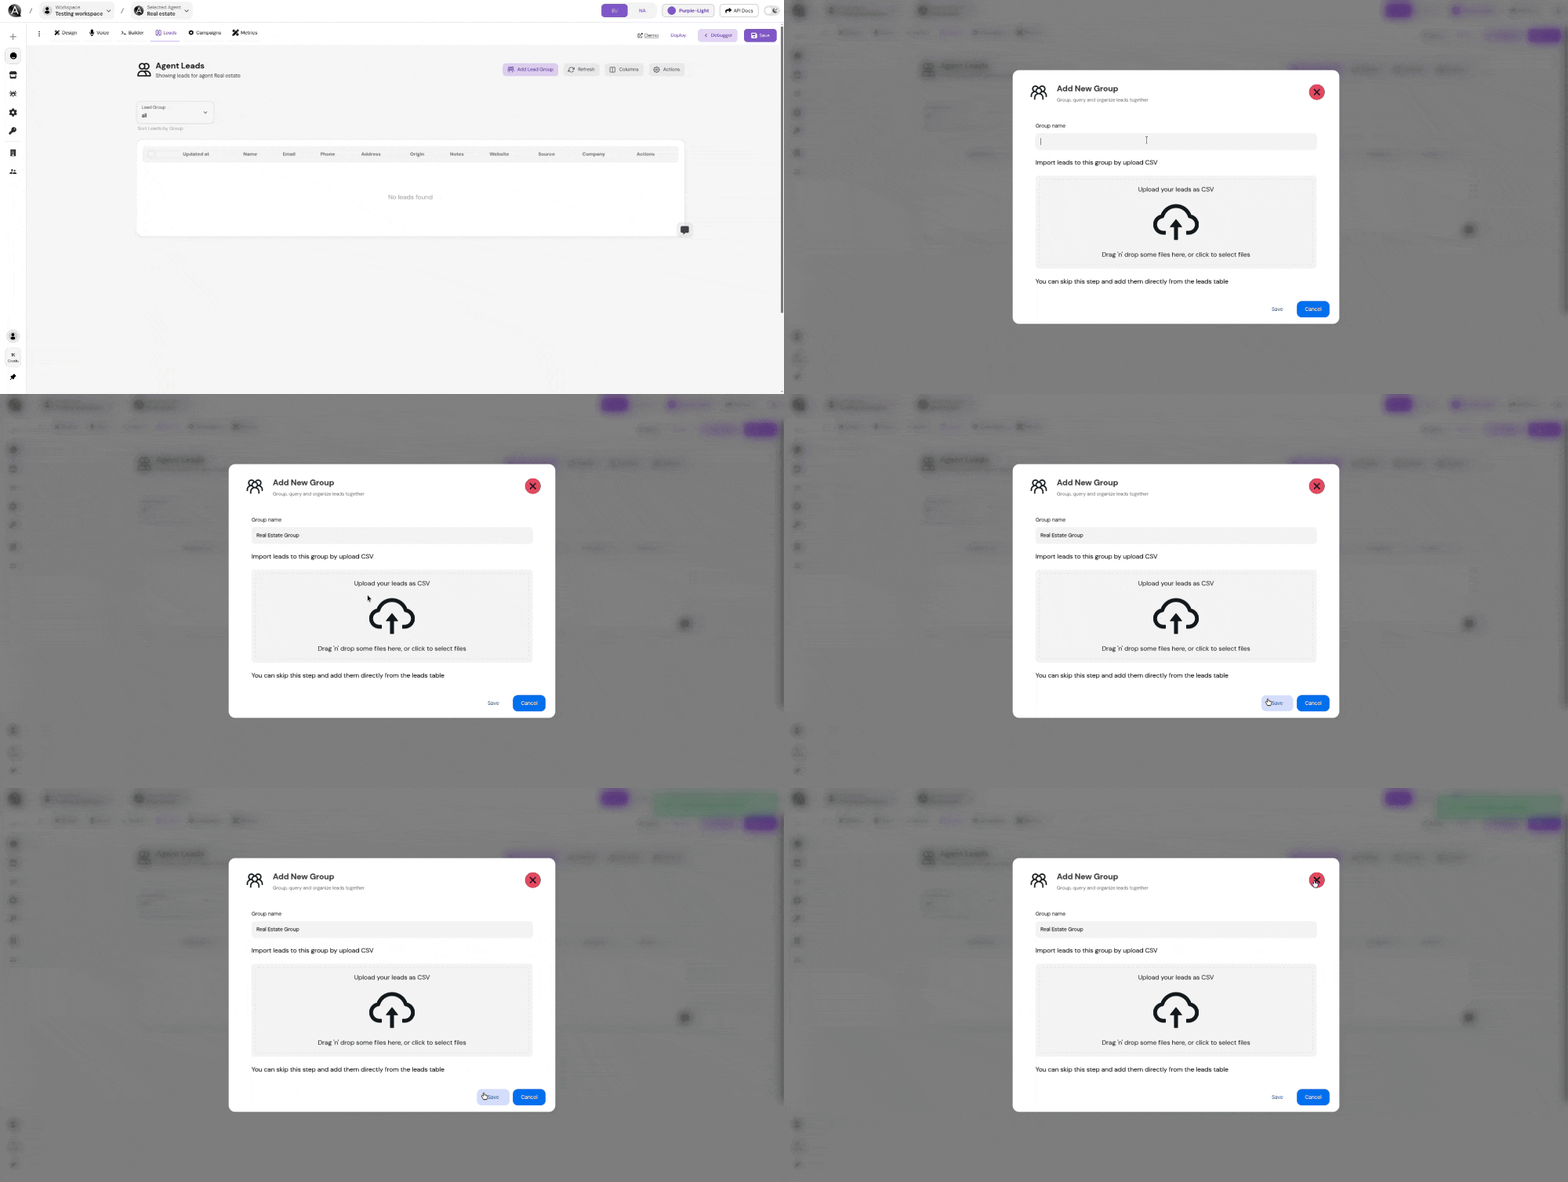
You need to know first that campaigns use lead group to target and make outbound calls for So To start with creating campaigns you need to first create a lead group So let’s walk the steps on how to create a lead Group
1
Lead Groups Tab
Navigate to your agent’s dashboard and locate the Lead Groups tab.
2
Create Lead Group
Create a new lead group by clicking on the “Create Lead Group” button.
3
Lead Group Name
Give your lead group a name.
4
Lead Group Leads
Add leads to your lead group by uploading a CSV file or by adding leads manually
by assigning the leads from the leads table to the lead group.
You can download the excel file used in importing leads from this link.
1
Campaigns Tab
Navigate to your agent’s dashboard and locate the Campaigns tab.
2
Create Campaign
Create a new campaign by clicking on the “Create Campaign” button.
3
Campaign Name
Give your campaign a name.
4
Campaign Lead Group
Select the lead group you want to make outbound calls to.
5
Campaign Concurrency slots
Set the maximum number of outbound calls that the agent can handle.
6
Campaign delay between each call
Set the delay between each call.
7
Campaign Initial prompt
Set the message to start the call with.
8
Campaign Call analysis summary prompt
Set the prompt that the agent will do immediately after the call ends.
9
Campaign Post Call Metrics
Set the metrics used to indicate the campaign statistics.
There are 2 ways to set the metrics:
- Predefined Metrics: These are the metrics that are predefined in the system.
- Custom Metrics: These are the metrics that are custom to the campaign.
Customizing Campaigns
Users can customize the campaigns based on their business needs:1
Agent Campaigns Tab
Navigate to your agent’s dashboard and locate the Campaigns tab.
2
Define Campaign
Define new Campaigns is very simple you only have to set the following parameters:
- Campaign name: The name of the campaign
- Campaign Lead Group: This is the lead group name of the users to make outbound calls to.
- Campaign Concurrency slots: This is the maximum number of outbound calls that the agent can handle.
- Campaign delay between each call: This is the delay between each call.
- Campaign Initial prompt: This is the message to start the call with.
- Campaign Call analysis summary prompt: This is prompt that the agent will do immediately after the call ends.
- Campaign Post Call Metrics: This is the metrics used to indicate the campaign statistics.
3
Save Changes
Save changes to add or edit Campaigns.
