🎙 Web Calling
Web Calling allows seamless voice communication from your widget. Follow these steps to enable the feature:- Navigate to the Voice Setup page in your TIXAE dashboard.
- Go to the Advanced & Settings tab.
- Enable “Web Calling” by toggling the switch.
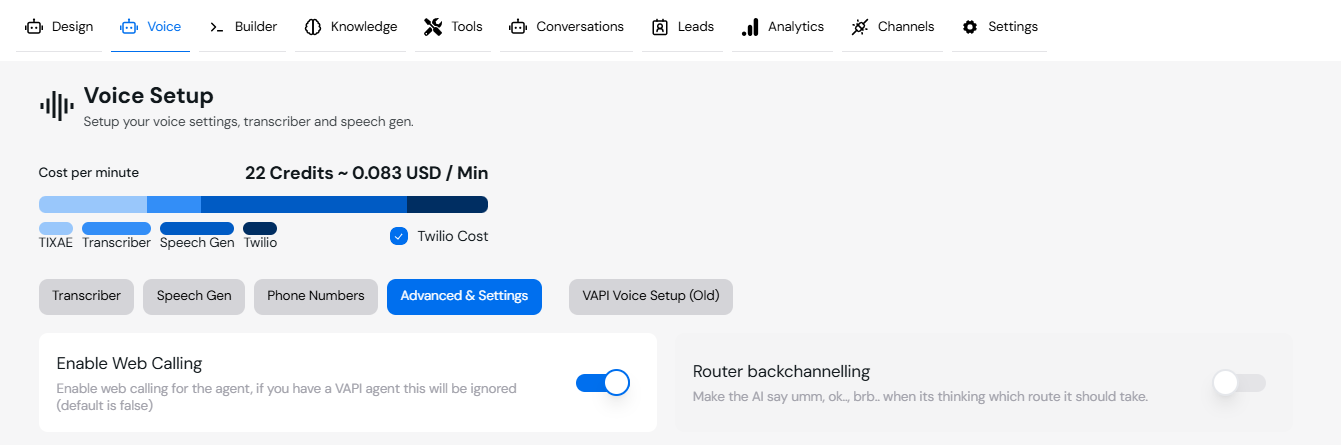
Once enabled, the widget will automatically display a Call Button. When pressed:
- A circular audio visualizer will appear.
- Users can press the “Start Call” button to initiate the call.
🚀 Deploy the Widget to Your Website
To integrate the widget into your website:- In the TIXAE Agent Dashboard, click on Deploy at the top right.
- Copy the generated script snippet.
- Paste the script into your website’s HTML.

Script Showcase
Here’s an example of the script popup: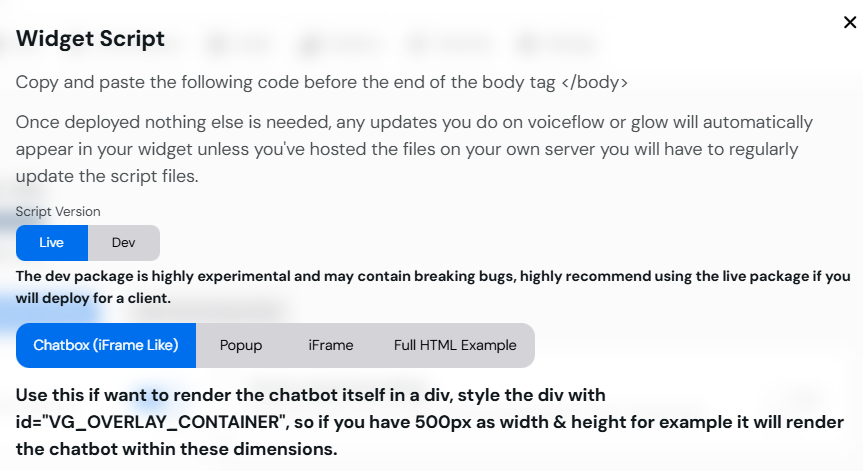
We support different deployment options for your website:
- You can choose between displaying the widget as a popup or embedding it directly into your site.
Coming Soon: A React Component will be available to simplify integration further for developers.
🔗 Next Steps
Advanced Settings
Learn how to configure additional features like call recording and webhooks.
Setup Twilio
Integrate Twilio to enable phone-based calling alongside Web Calling.